The project team needs accurate data on the current appearance of any existing building in Australia before starting renovation or refurbishment work. Old drawings go out of date fast. When teams design around wrong information, the costs compound quickly on-site.
This guide covers how the Scan to BIM workflow operates, what drives the cost, how long a project takes, and what the delivery package includes.
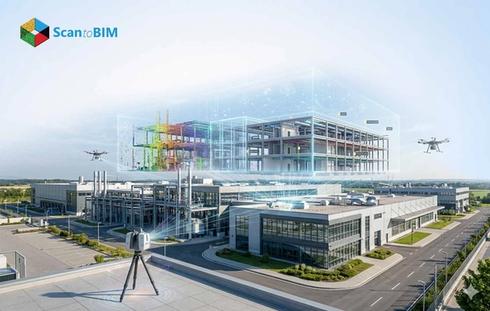
What Is Scan to BIM and How Does It Work?
Scan to BIM is a process that turns a physical building into a working digital model. A surveyor brings a laser scanner onto the site, and the device fires pulses of light, timing each return to calculate precise three-dimensional coordinates. What comes back is millions of coordinate points, each marking a real location on a real surface, stacked into a point cloud: a measurable map of the building as it actually stands.
Scan to BIM services Australia take that raw point cloud and convert it into a working Revit model. Modelers trace every wall, floor, column, beam, duct, and pipe over the scanned geometry. Every element picks up attribute data, dimensions, material type, and system classification, so the finished model carries far more than just shapes.
A study published in Buildings tested real-world scanning accuracy across seven large building point clouds. At the single-story level, sub-centimeter accuracy held up. Across fully multi-story buildings, registration control made the biggest difference to final model quality.
The Complete Scan to BIM Process: From Laser Scan to BIM Model
Six stages take a project from the first site visit to a delivered BIM model.
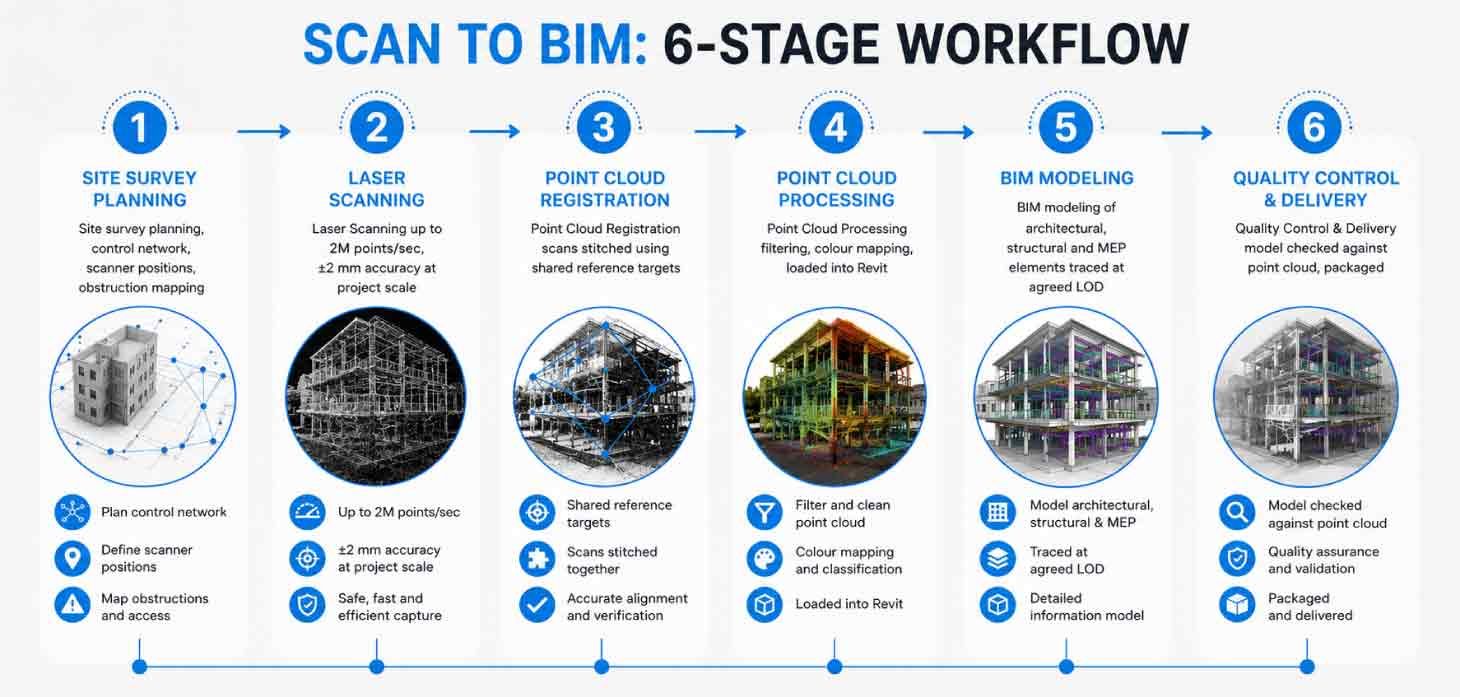
Stage 1: Site Survey Planning
The team reviews available drawings, sets up a control network, and plans scanner positions across every room and corridor. Spotting obstructed areas before mobilizing ensures the correct number of stations are in place from day one.
Stage 2: Laser Scanning on Site
On-site, surveyors work through each station position, capturing every accessible space. The scan to BIM process moves quickly at this stage. Modern terrestrial scanners capture up to 2 million points per second with positional accuracy around ±2 mm. Each station takes 3 to 8 minutes, depending on range and resolution.
Stage 3: Point Cloud Registration
Software stitches all station scans into one continuous cloud using shared reference targets. Point accuracy, data density, and scan overlap determine how well this works. A solid control network set up on site keeps registration errors within acceptable bounds.
Stage 4: Point Cloud Processing
Noise and scanner positions get filtered out, then photographic color layers are overlaid on the points. The cleaned point cloud to BIM workflow loads the result into Revit as the reference layer that modelers can directly trace over.
Stage 5: BIM Modeling
Modelers build Revit geometry element by element over the point cloud, such as walls, structure, and MEP components, to the agreed level of development. This stage holds the largest share of hours and produces the file that the client uses for design and coordination.
Stage 6: Quality Control and Delivery
A senior BIM coordinator checks the model against the point cloud. Where geometry drifts outside the agreed tolerance, the modeler corrects it. Once it passes review, the team packages all deliverables and sends them across.
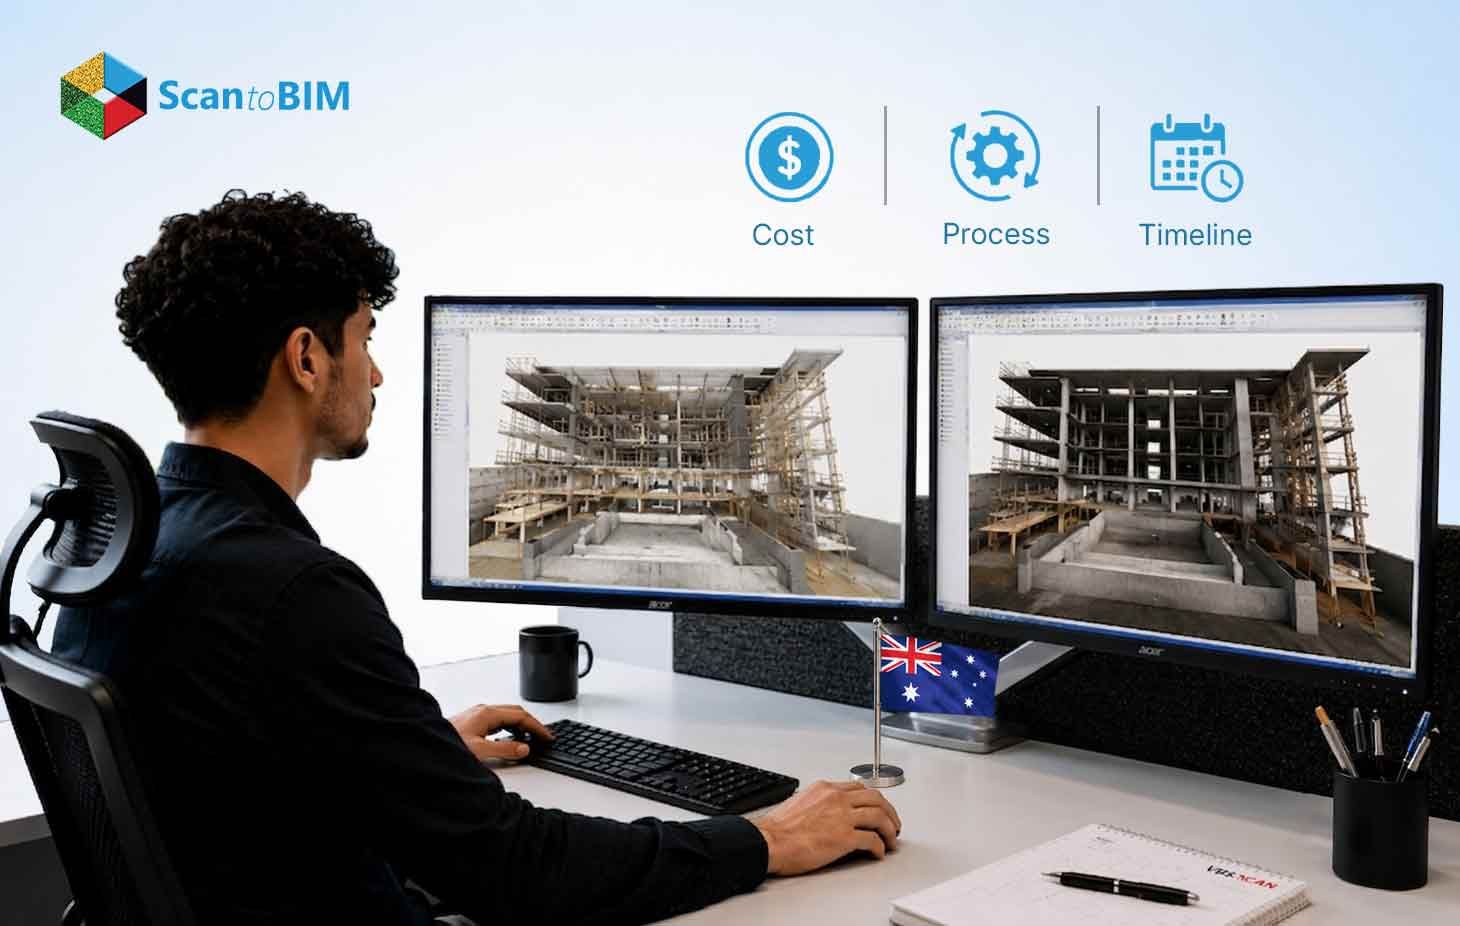
Factors Affecting Scan to BIM Costs in Australia
The cost of a Scan to BIM project is influenced by several variables. Understanding them before briefing a provider makes for a sharper conversation.
The scan to BIM cost guide breaks down pricing by building type and category. The main cost drivers for Australian projects are listed below.
Building Size
Gross floor area drives the base cost. A 500 m² tenancy is a very different proposition from a 20,000 m² hospital: more stations, longer registration, and more modeling hours.
Level of Development Required
Getting the LOD right at the briefing stage matters. Adding detail after modeling has started means rework, and rework costs more than getting the specification right the first time. LOD 200 and LOD 400 are entirely different scopes of work.
Building Complexity
A warehouse with clear sightlines is quick to scan and trace. Ornate heritage facades, irregular roof geometry, and tight ceiling voids all add time at every stage. MEP-heavy buildings land somewhere between those two extremes, shaped by how much service infrastructure runs through the space.
Scanning Accuracy Tolerance
Tighter tolerances mean more scanner stations, more overlap, and more checking. Field performance runs from ±2 mm at close range to ±6 mm across medium distances. That gap between specifications is real money, even on the same building footprint.
Travel and Site Access
Getting a crew to regional Western Australia or the Northern Territory adds flights and accommodation to the fee. Capital city projects keep mobilization costs down.
Pricing Models
Providers work three ways: per square meter, hourly, or fixed lump sum. Fixed pricing gives clients a known number as long as the scope is locked before scanning starts.
Typical Timeline for a Scan to BIM Project
Below is a realistic breakdown for a mid-sized commercial building in an Australian capital city.
- Pre-project coordination: 2 to 3 business days to sort access permissions, agree on target placement, and align the site team.
- Site scanning: 1 to 3 days for a building up to 3,000 m². Multi-level or complex buildings stretch toward 5 days.
- Point cloud registration and processing: 2 to 4 business days, depending on station count and data density.
- BIM modeling: 5 to 15 business days at LOD 300. Stepping up to LOD 400 adds around 30% to that time.
- Quality review and delivery: 1 to 2 business days for checking, corrections, and packaging.
A well-scoped commercial project lands in 2 to 4 weeks from first site access to handover. An analysis reported delivery dropping from the traditional 4–8 week range to 2–6 weeks, with cost reductions of 30–40% through machine learning processing. Heritage buildings or large healthcare campuses extend toward 6 to 10 weeks.
Common Deliverables in Scan to BIM Services
Most project briefs include the following outputs. The exact scope shapes what goes into the delivery package.
- Registered point cloud: Full merged cloud in RCP, RCS, E57, or LAS format.
- Revit model: Built to the agreed LOD, with elements grouped by discipline and workset.
- 2D drawings: Floor plans, sections, elevations, and reflected ceiling plans in DWG or PDF.
- IFC file: Open-format export for platforms outside the Autodesk ecosystem.
- Clash detection report: A Navisworks coordination report when clash detection is in scope.
- Model quality documentation: LOD achieved, scan accuracy figures, and agreed scope exclusions.
Applications of Scan to BIM for Existing and Renovation Projects
Renovation work on existing buildings is where Point cloud to BIM services earns its keep fastest. Buildings accumulate changes over decades: walls moved, services rerouted, and equipment swapped, with nothing updated in the drawings. Design teams working from those drawings are working from fiction. Scanning before design begins puts real data in front of the right people.
Across Australian commercial buildings, Scan to BIM now sits at the start of most serious refurbishment briefs. Office fitouts, retail upgrades, and base building work all depend on knowing exactly where the structure sits and what runs through the ceiling before a single design decision gets made.
Heritage buildings call for the highest standard of documentation. Laser scanning combined with photogrammetry captures the geometry, texture, and layers of previous work in one pass, feeding directly into Heritage BIM models that conservation architects can actually plan from.
Infrastructure assets like bridges, tunnels, and rail stations bring restricted access and complex geometry. The survey captures the actual condition of the structure, and the asset owner ends up with a digital record that stays useful for maintenance and future works long after the project wraps up.
Accuracy Standards and LOD Requirements in BIM Modeling
Two things define what a Scan to BIM model is worth: how accurately it reflects the building and how much detail it contains.
Accuracy Standards
Laser scan to BIM services in Australia operate to tolerances set at the briefing stage. Close-range scanning under 10 meters delivers ±2 to ±3 mm with quality equipment. Push the range to 20–30 meters, and accuracy is in the ±3 to ±6 mm range. Ceiling voids packed with services need extra stations to hold tolerance across the full area.
LOD Reference
- LOD 200: Approximate geometry for spatial planning.
- LOD 300: Accurate geometry for design documentation and trade coordination. Most common for Australian renovation projects.
- LOD 350: Connection details added. Supports contractor coordination and shop drawing production.
- LOD 400: Full fabrication detail. Required for MEP prefabrication.
- LOD 500: As-installed model for facility management.
Every discipline on a project can carry a different LOD target. Agreeing on those targets before modeling starts keeps scope clear and hours predictable. LOD 400 is unforgiving: the fabrication model carries any data quality gaps straight through into the final output. A mixed approach, LOD 300 for architecture and LOD 400 for MEP, balances cost against what downstream teams actually need.
Challenges That Can Impact Cost and Project Timeline
Most cost overruns and schedule slippages trace back to a handful of recurring problems. Knowing them in advance covers most of the mitigation.
Poor Site Access
Live buildings impose restrictions on scanning only at night or only in certain zones. Each constraint adds mobilization visits and extends the survey phase. Agreeing to the access schedule in writing before the project starts is the most effective step.
Obstructed Spaces
Heavy plant rooms, ceiling voids, and subfloor spaces sit outside what a single scanner station can see. The answer is more stations. Working that out before site day costs far less than discovering it mid-survey. A walkthrough beforehand, or even a video call with the facilities manager, gives the team what they need.
Missing Documentation
When drawings are unavailable, the survey team maps the building as they scan it. That slows progress and may require additional visits. Sharing whatever records exist, even a hand-sketched floor plan, saves real time.
Data Quality in Point Clouds
Real-world evaluations of multi-story buildings found registration errors of around 5 cm in complex areas, such as stairwell gaps, that look fine visually but carry through into the model. An independent control survey running alongside the scan work catches these discrepancies before data leaves the site.
Scope Changes After Contract
Adding disciplines or LOD requirements after the contract is signed leads to the most avoidable cost increases. A fixed-scope document, agreed upon before scanning begins, keeps both sides aligned.
How to Choose the Right Scan to BIM Service Provider in Australia
Quality among Australian providers varies. These are the things worth checking before committing.
Specialist BIM Modeling Capability
Scanning and modeling are two different skills. A firm with quality hardware and strong site capability may still not have the same level of modeling skill. Ask to see finished Revit models from comparable projects.
Defined Accuracy Reporting
Every project should include a written accuracy statement confirming that the point cloud meets the agreed tolerance. Providers who skip this step prevent clients from verifying the data on which the model is built.
Experience with Australian Building Types
Federation-era terraces, 1960s commercial stock, and contemporary high-rise towers all behave differently on site. Ask specifically about projects that are similar to yours in building type and complexity.
Clear Deliverable Specification
The delivery package should be spelled out in the proposal: file formats, LOD per discipline, naming conventions, and coordinate system. Ambiguity here tends to surface at handover.
Offshore Modeling for Cost Efficiency
Many Australian engagements pair local scanning crews with offshore modeling teams. When the offshore team has experience, the process cuts costs without cutting quality, and offshore BIM modelers often have higher LOD capability at lower day rates.
Conclusion
Scan to BIM gives Australian project teams a verified digital foundation before renovation, refurbishment, or heritage conservation work begins. The process is proven, timelines are predictable, and costs scale in ways that are easy to plan around once the key variables are understood.
What makes the difference between a useful model and a frustrating one is the provider's modeling capability, the quality of the scan data feeding into it, and whether the LOD matched what downstream teams actually needed. Get those three things right, and the model earns its cost many times over in fewer RFIs, less rework, and design decisions made on facts rather than assumptions.